Connecting inventory items to your tasks
![]() 2 min read
2 min read
To address the need of connecting the information about samples, reagents, instruments, or other inventory items, to your work on experiments and tasks in the lab, we are adding new functionalities to SciNote.
We introduced a new but familiar way of assigning items to a task and we also added a new functionality – snapshotting of the assigned items, which records the state of the items in individual inventory at the moment of snapshot creation.
How does assigning of items to a task work now?
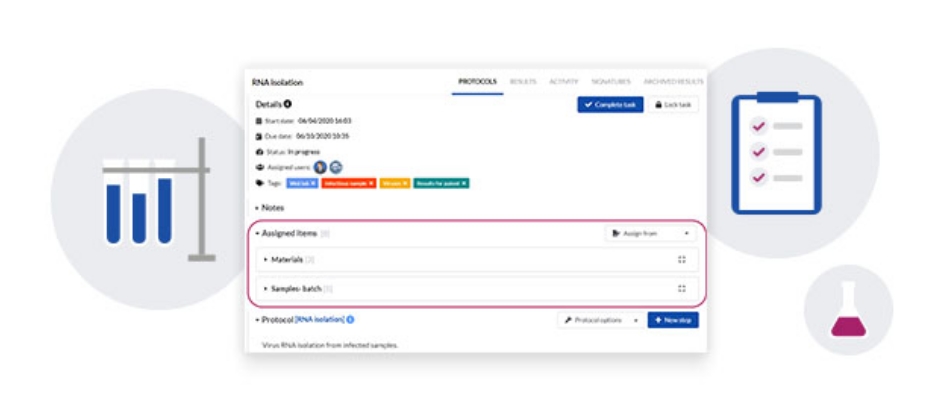
The Inventories tab on the task screen was replaced by the Assigned items section. Don’t worry, your previously assigned items are safely kept. They are now displayed directly on the task screen and the snapshots have been automatically created for your locked tasks.

To assign or unassign items you need to click on the Assign from button, and select which inventory you want to assign items from.

Once you have selected an inventory, a full screen view of that inventory opens over your task screen. Simply select the checkboxes of the items you wish to add and click on the Assign button at the top. You can also unassign or assign additional items here at any later time by clicking on the Update button.

A familiar window will open asking you to either assign the items to this task only, or also to all the tasks downstream from this one in the experiment workflow.

When you close the Assign window, you return to the task, where you can see the items you selected in the Assigned items section on the task screen. We included a simple view of your assigned items here, but do not worry, more information is just a click away.

You can click on the item name to open its card. Or you can simply press the full-screen button and it will open a full table view of the assigned items. Here you can see all the information you entered in your inventory for the items you assigned to this task.

In this new view we are also introducing different versions of the assigned items within each inventory. You can view the items live, meaning they are regularly updated from the inventory, or you can create a snapshot version, which records the state of your items at that moment in time.
This means that if you created a snapshot of the assigned items and then changed any data for these items in the inventory, you will still keep the record of the assigned items on the task as they were when you created the snapshot.

How do you create a snapshot of the assigned items?
In the full screen view of the assigned items on task, first click on the View versions button, which opens a Versions panel and click on the Create snapshot button. The snapshot version will appear in the panel, labeled by the creation date & time and the name of the creator. You can then easily switch between the live version of the assigned items or any of the snapshots. You can set the preferred version as the default view on the task for each individual inventory.

For those of you, who need to lock and sign the completed tasks, it is important to know that snapshots of the assigned items will be automatically created at locking. After locking the tasks, the assigned items are not locked for editing in the Inventory section anymore, as their snapshots are now saved on the locked tasks.
By creating snapshots of the assigned items, you can make sure to have the records of your assigned items safely saved on the task, in case the items or the inventory, from which you assigned the items, get modified or deleted for any reason or if the shared inventory gets unshared from your team, so you do not lose the data.
By Sasa Trkov Bobnar, SciNote product manager


